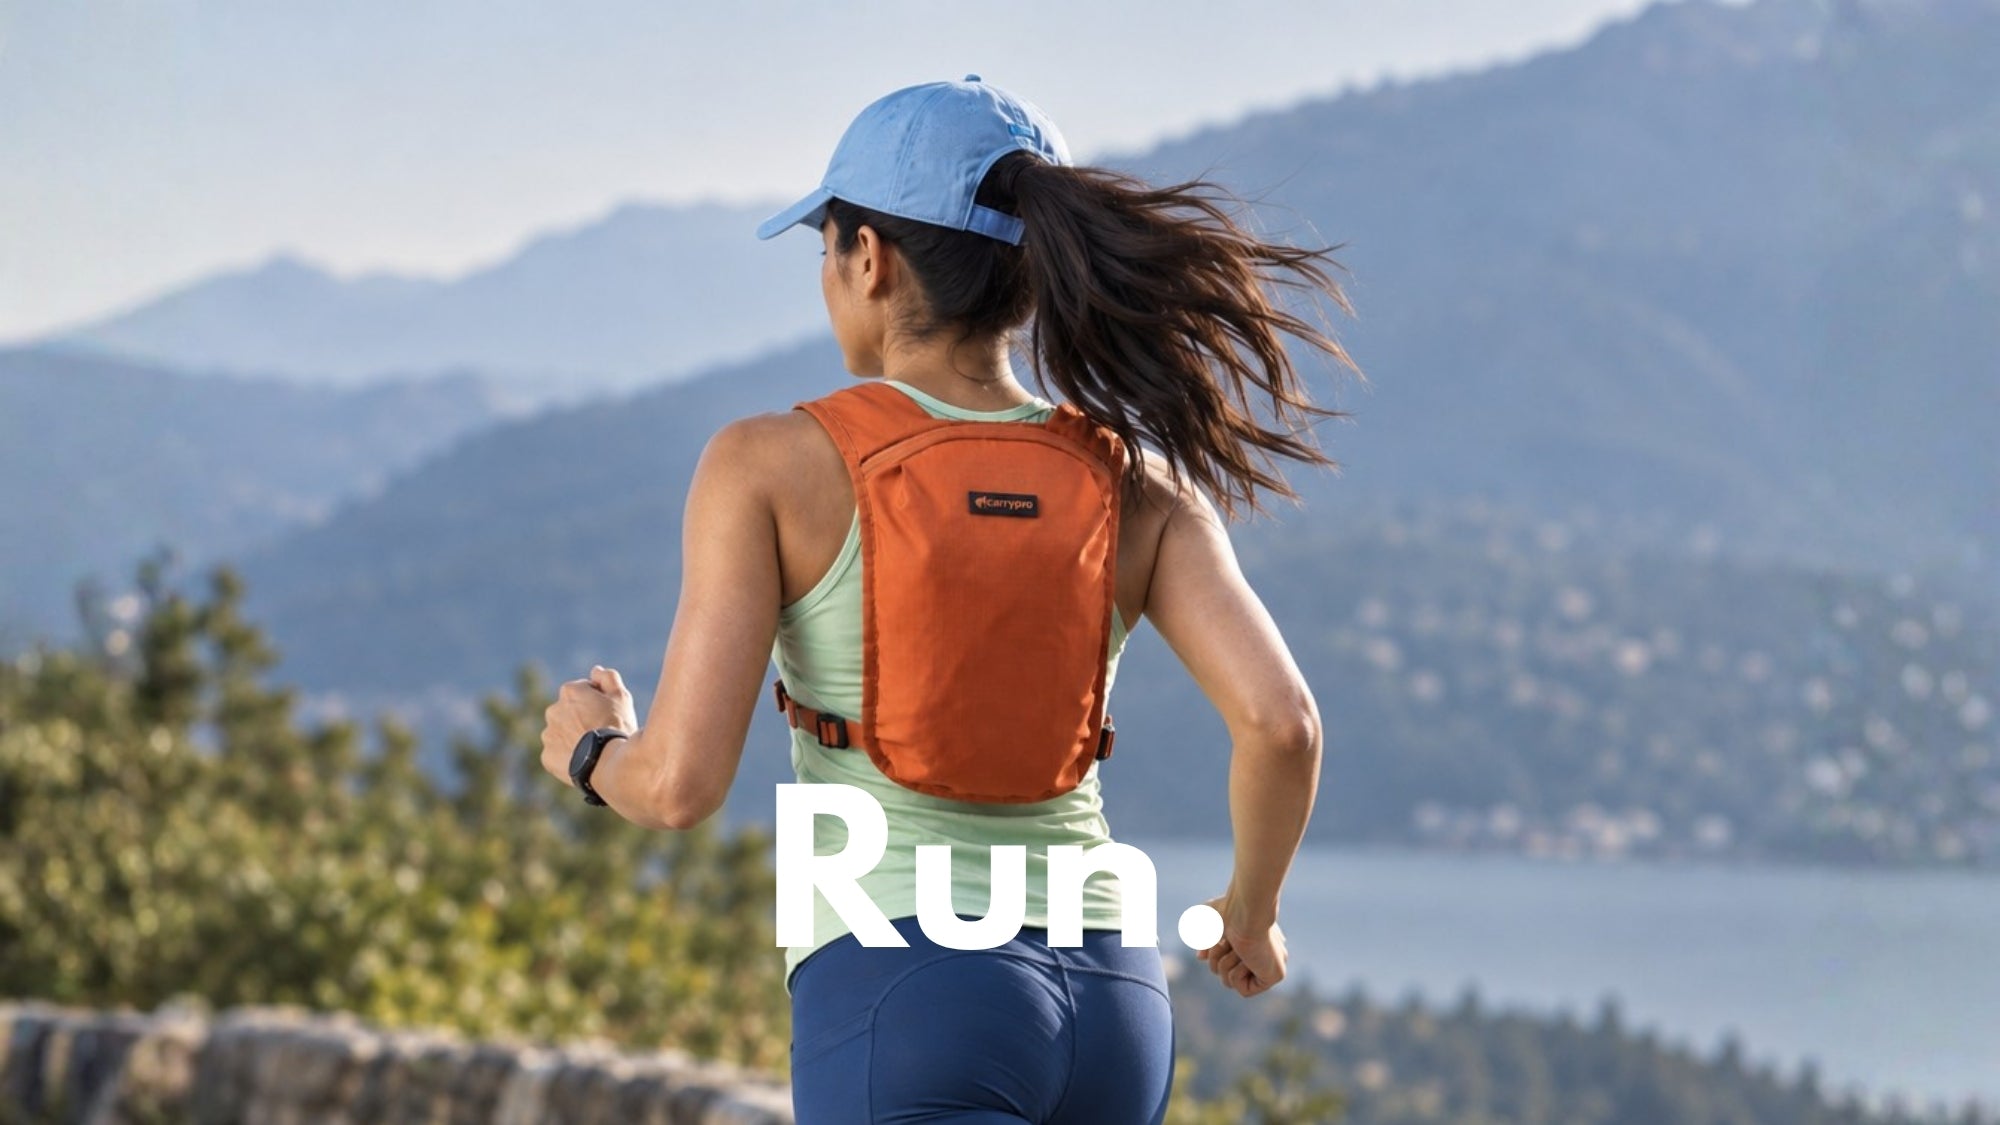

A 15L hiking backpack can hold the essentials for a light day trek, but poor packing can make even that limited equipment difficult to access.
Picture reaching for your rain jacket on a Western Ghats trail, only to find it beneath your lunch, power bank and first-aid kit. Everything technically fits, but the packing arrangement doesn't work when you need it.
The most effective way to pack a 15L backpack is to keep dense items close to your back, place frequently needed equipment near the top, and protect weather-sensitive belongings inside waterproof storage.
A compact backpack works best when the route, weather and equipment requirements are compatible with its limited capacity.
What Can You Fit in a 15L Hiking Backpack?
A 15L backpack is generally suitable for a lightweight day hike where you aren't carrying overnight equipment, bulky winter clothing or specialized technical gear.
A realistic packing list might include:
| Essential | What to pack | Why it matters |
|---|---|---|
| Hydration | Water bottle or compatible hydration bladder | Water between reliable refill points |
| Food | Lunch, snacks and reserve food | Energy during the hike and unexpected delays |
| Weather protection | Packable rain jacket | Protection from rain and wind |
| Extra clothing | Compact insulating layer, if conditions require it | Warmth during rest stops or changing weather |
| First aid | Small first-aid kit and personal medication | Managing minor injuries and individual medical needs |
| Navigation | Phone with offline maps and appropriate backup | Route identification where mobile coverage is unreliable |
| Lighting | Compact headlamp | Visibility if the hike takes longer than planned |
| Sun protection | Sunscreen, cap and sunglasses | Protection during exposed sections |
| Emergency equipment | Whistle, emergency blanket and other route-appropriate essentials | Additional preparedness for delays or emergencies |
| Small accessories | Power bank, ID, cash and rubbish bag | Communication, identification and responsible waste disposal |
The exact combination depends on the trek. Clothing bulk, container shapes and safety equipment can change how much space remains.
For a broader checklist covering day hikes, weekend trips and multi-day trekking, refer to CarryPro's guide on what to pack for a trek in India.
How to Pack a 15L Backpack: A Practical Loading Method
A compact daypack benefits from a simple rule: organize equipment according to weight, accessibility and weather protection.
Step 1: Prepare your water-carrying system first
Water is often among the heaviest items carried on a day hike.
One litre of water weighs approximately one kilogram, excluding the container. Carrying a full 2L reservoir therefore adds roughly 2kg before accounting for food, clothing or the backpack itself.
If your bag has a hydration sleeve, position the filled and sealed reservoir in that compartment before packing the remaining gear. Check for leaks and route the drinking tube according to the bag's design.
CarryPro's 2L Hydration Bladder can be paired with compatible hiking backpacks, but carrying the full capacity isn't necessary on every route.
Plan your water supply around expected conditions, hiking duration, individual requirements and reliable refill opportunities.
Step 2: Keep dense equipment close to your back
Heavier items should generally sit close to your back rather than at the outer edge of the bag.
Depending on their dimensions, suitable items might include:
-
Power bank
-
Compact first-aid kit
-
Dense food items
-
Other small equipment that needs secure storage
Position them around the middle of the pack where practical.
Avoid placing heavy objects in loose external pockets, where they may shift as you walk.
The objective is a stable load, not an arrangement that looks perfectly symmetrical.
Step 3: Use soft items to fill remaining spaces
A compact insulating layer or spare socks can occupy gaps around more rigid equipment.
Pack clothing so it can be removed without disturbing the entire load.
For items that must remain dry, use a suitable waterproof liner or dry bag rather than relying on the backpack fabric alone.
Avoid compressing essential insulation so tightly that it becomes difficult to retrieve when needed.
Step 4: Keep your rain jacket accessible
Rain protection should not be buried beneath everything else.
On routes where the weather may change quickly, place your jacket near the top of the main compartment or in a suitable quick-access section.
Some backpacks have an external bungee system that can temporarily hold a securely folded layer.
However, exposed storage is not waterproof storage. Keep dry clothing inside a protected compartment, and ensure externally secured items cannot snag on vegetation or obstruct your movement.
Step 5: Organize smaller essentials in accessible pockets
Small items are easy to lose inside a backpack containing clothing and food.
Assign specific storage locations:
-
Shoulder-strap pockets: Small snacks or other compatible quick-access items.
-
Upper compartment: Headlamp, first-aid essentials and frequently needed equipment.
-
Protected pouch: Phone, documents and electronics.
-
Main compartment: Extra clothing, lunch and less frequently accessed equipment.
Actual pocket placement will vary by backpack.
A good arrangement lets you reach frequently needed items without emptying your entire bag.
Step 6: Test the packed backpack before leaving
Put on the fully loaded backpack and walk around.
Check whether:
-
The bag sits comfortably against your back.
-
Heavy objects shift when you bend or change direction.
-
Shoulder straps remain stable.
-
You can reach water and frequently used essentials.
-
The rain jacket and emergency equipment remain accessible.
A short walking test cannot replicate an entire trek, but it can expose unstable packing and obvious discomfort.
For additional adjustment advice, CarryPro's guide on how to wear a backpack correctly covers strap positioning and load distribution.
How to Organize the CarryPro Trail 15L Hiking Backpack
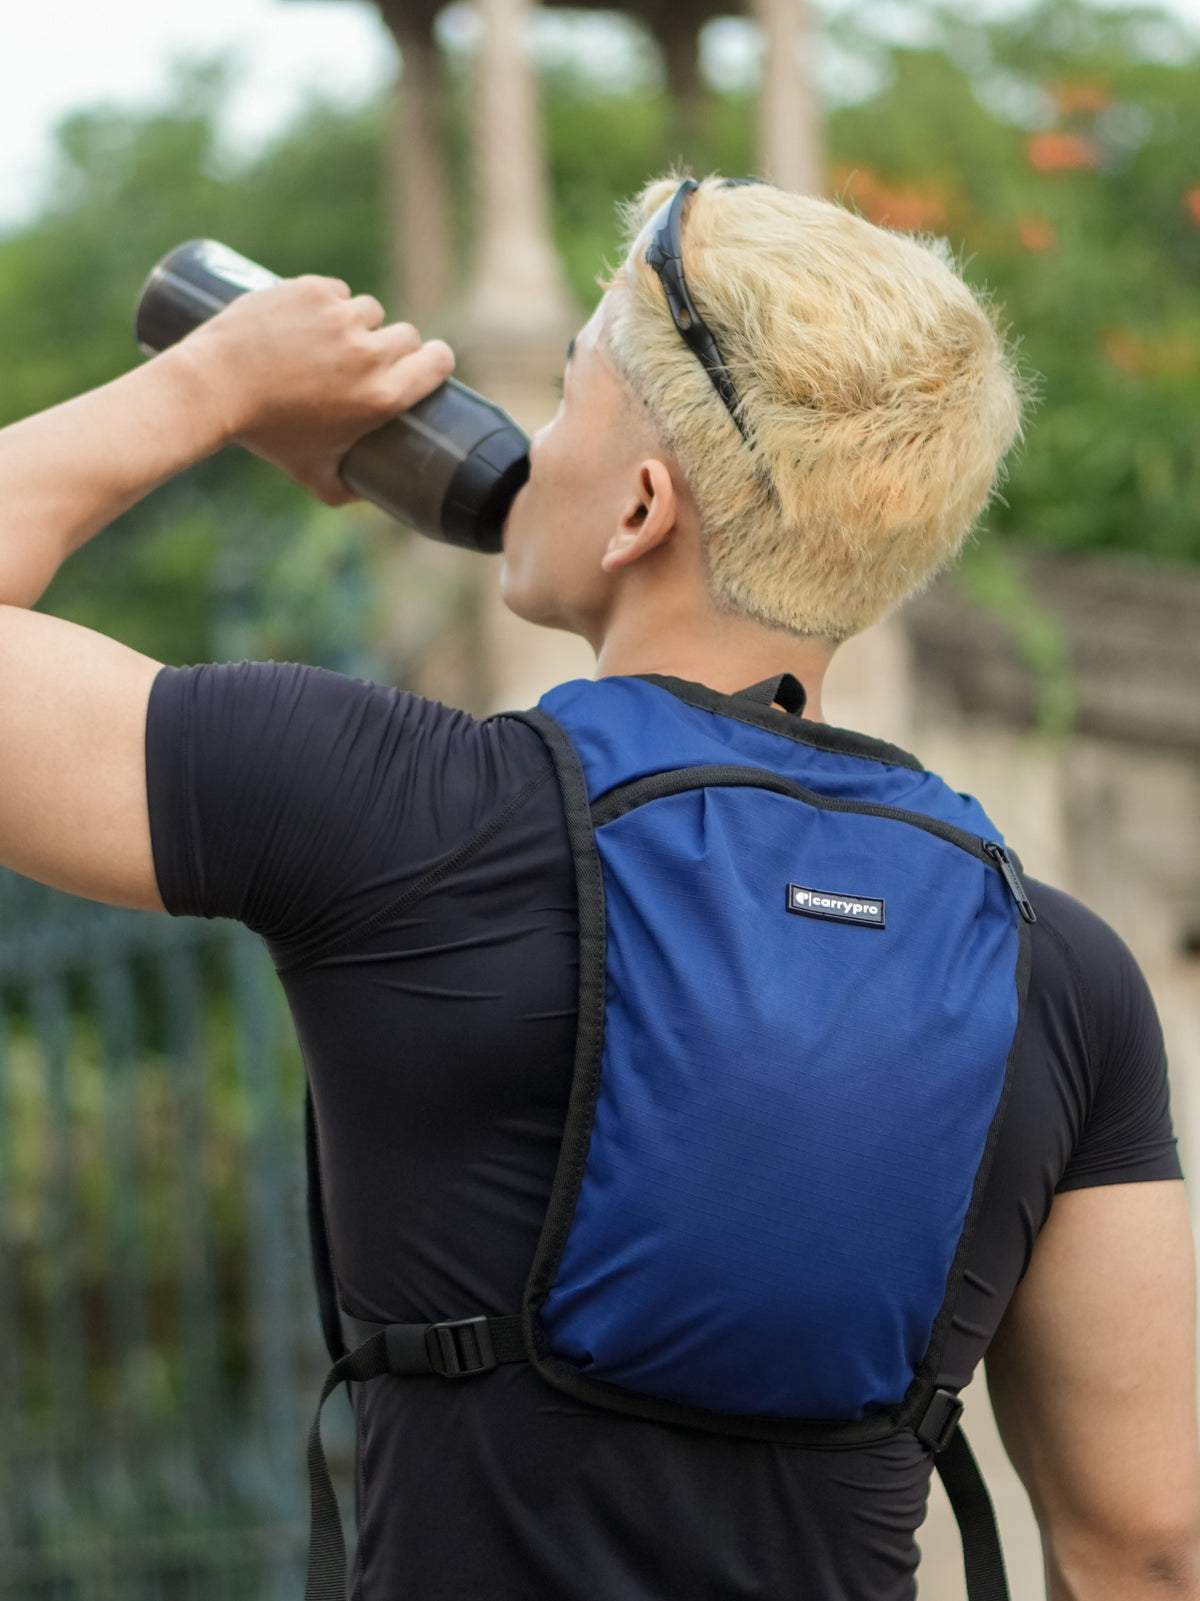
The CarryPro Trail Hiking Bag (15L) has features suited to organizing a compact day-hiking load.
Its listed specifications include:
| Feature | Specification |
|---|---|
| Capacity | 15L |
| Empty weight | 560g |
| Main storage | Dual compartments |
| Hydration | Dedicated compartment compatible with a 2L bladder |
| Shoulder straps | Jacket-style design with accessible pockets |
| External storage | Front bungee system |
| Visibility | Reflective detailing |
The compartments can be organized according to the equipment you need during a hike.
Hydration compartment
Place a compatible reservoir in the dedicated hydration area and route the tube correctly.
Keep the drinking system separate from loose objects that could press against the valve or hose.
Main compartments
Use the main storage for clothing, food, first-aid equipment and other essentials. Distribute denser items close to your back where the compartment layout permits.
Shoulder-strap pockets
Reserve them for small, frequently accessed items that fit securely.
Front bungee storage
Use it for an appropriately secured lightweight layer when conditions permit. Avoid leaving loose equipment attached externally.
Although the Trail has a dedicated hydration compartment described as waterproof, that does not establish that every compartment, seam and zipper is fully waterproof.
For wet conditions, an additional rain cover and waterproof internal storage are sensible precautions.
How Should You Change Your Packing for Different Indian Trails?
Two day hikes of similar duration may require different equipment because their weather, elevation and access to assistance differ.
Scenario 1: A short, well-supported day hike
For a shorter hike with predictable conditions and reliable access to water, prioritize:
-
Planned drinking-water capacity
-
Food and snacks
-
Basic first aid and personal medication
-
Navigation and communication
-
Weather-appropriate clothing
-
Compact emergency supplies
A 15L pack may accommodate this setup without difficulty if the gear is sufficiently compact.
Avoid adding bulky equipment merely because there is unused space.
Scenario 2: A wet-weather hike in the Western Ghats
Rain changes the packing priorities.
A suitable setup may need:
-
Waterproof outer layer
-
Protected phone and power bank
-
Dry storage for spare clothing
-
Backpack rain cover
-
Extra attention to the condition of exposed paths and stream crossings
CarryPro's guide to backpack rain covers explains their advantages and limitations.
A rain cover can reduce water reaching the outer bag, but it does not replace sealed internal protection for sensitive equipment.
Check official route advisories and conditions before setting out. Heavy rain, closures or unsafe crossings may make postponing the hike preferable to carrying additional equipment.
Scenario 3: A cold or exposed Himalayan day trek
A compact 15L bag may not be appropriate when the route requires substantial insulation, additional food, emergency equipment or technical safety gear.
A guided summit outing may also have mandatory equipment requirements.
Check the trek operator's official packing list before selecting your backpack.
If the required equipment cannot fit without excessive compression, choose a larger pack.
When Is a 15L Backpack Too Small for a Day Trek?
A 15L backpack should not be judged by hiking distance alone.
Consider the following situations:
| Situation | Is 15L suitable? |
|---|---|
| Short hike with compact essentials | Often suitable |
| Half-day hike in mild conditions | Often suitable |
| Full-day hike with compact equipment | Potentially suitable |
| Wet-weather trek requiring extra protective layers | Depends on clothing and equipment bulk |
| Cold mountain hike requiring substantial insulation | May be insufficient |
| Overnight trek requiring sleeping equipment | Generally insufficient |
| Remote route requiring additional emergency equipment | Depends on mandatory equipment and available capacity |
The decision depends on the volume of the required gear, not simply the number of kilometres you plan to walk.
A small backpack does not make an unsuitable load safe.
If you're unsure whether 15L offers enough storage, compare your equipment against CarryPro's backpack size guide before selecting a larger model.
Common Mistakes When Packing a Small Hiking Backpack
Even a carefully selected bag can become inconvenient when equipment is arranged poorly.
1. Filling every available pocket
A completely stuffed backpack makes essential gear difficult to access. Leave room to put away items you remove during the hike.
2. Packing rain protection at the bottom
Weather protection should be among the first things you can reach when conditions change.
3. Confusing water capacity with backpack capacity
A 15L bag has a nominal storage volume of 15 litres. That doesn't mean it can safely carry 15 litres of water or that its weight limit is 15kg.
4. Ignoring the weight of water
Account for the weight of your filled bottles or hydration reservoir when evaluating comfort.
5. Assuming the backpack is waterproof
A water-resistant fabric or protected hydration compartment does not automatically make the entire bag waterproof.
6. Removing safety equipment to save space
If a compact backpack cannot accommodate the safety equipment required for your route, increase the bag capacity or reconsider the trip plan rather than leaving essential items behind.
Final Packing Check Before a Day Hike
A practical 15L setup should satisfy three questions:
-
Does everything essential fit? Include appropriate safety equipment rather than packing only the items you expect to use.
-
Can you access important gear quickly? Water, weather protection and first aid should not require completely unpacking the bag.
-
Does the loaded backpack remain comfortable? Check stability, strap adjustment and whether the equipment shifts during movement.
A compact daypack is useful when your route and equipment genuinely allow you to travel light.
For hikers looking for dedicated hydration storage, dual compartments and accessible outer pockets, the CarryPro Trail 15L offers a practical organization-focused design. The final test should be packing the equipment your own route requires.
Frequently Asked Questions
What should I pack in a 15L hiking backpack?
Pack route-appropriate water, food, weather protection, first aid, navigation, a headlamp and compact emergency essentials. Add extra clothing or equipment based on weather and safety requirements.
Is a 15L backpack enough for a full-day trek?
A 15L backpack can be sufficient for a supported day trek with compact equipment. Cold weather, remote terrain or bulky mandatory gear may require a larger backpack.
Where should heavy items go in a small hiking backpack?
Position dense items close to your back, typically around the middle of the main storage area. Keep the load balanced and prevent equipment from moving inside the bag.
Can a 15L hiking backpack hold a 2L hydration bladder?
Some 15L backpacks include a compatible hydration sleeve. The CarryPro Trail 15L is listed as accommodating a 2L bladder, but compatibility should be checked for the specific reservoir and hose arrangement.
How do I keep my belongings dry during a monsoon hike?
Use suitable waterproof internal storage for sensitive belongings and a properly fitted backpack rain cover. Neither a backpack's water-resistant fabric nor an external cover alone guarantees complete waterproofing.
Should I buy a 15L or 20L hiking backpack?
Choose based on the equipment required for your route. A 15L pack may suit compact day-hiking loads, while 20L offers additional space for clothing, food and safety equipment. Compare your actual packed gear rather than choosing purely by distance.