

Most solo travel creators return from a 30-day trip with 400 GB of footage and no plan. The footage sits on a hard drive. The posting schedule dies within two weeks of being home. Six months later, the content from the trip has produced maybe eight posts instead of the sixty it could have generated.
The problem is never the footage. The problem is the absence of a production system that starts before the trip begins and continues long after the flight home lands. Our guide covers the planning, shooting, and post-production workflow that turns one month of travel into six months of consistent content.
Plan the content calendar before the trip
A 30-day trip with no content plan produces random footage. A 30-day trip with a shot list and a format calendar produces a library.
Map formats to days, not locations
Decide in advance which content formats you will produce. A realistic format mix for a solo creator includes long-form YouTube videos (2 per month), Instagram Reels (3 per week), carousel posts (2 per week), podcast episodes or voiceover narrations (1 per week), and written blog posts or captions (1 per week).
Six months of this cadence requires roughly 12 YouTube videos, 78 Reels, 52 carousels, 26 audio pieces, and 26 written posts. Those totals sound impossible for one trip. It is not, because most of these formats repurpose the same raw footage.
Build a daily shot list
Every shooting day needs five specific captures: one establishing wide shot of the location, one self-filmed talking segment, three to five B-roll clips of details, one process or activity clip (eating, hiking, packing), and one raw ambient audio recording of the environment.
These five daily captures, repeated across 20 to 25 shooting days, generate enough raw material for every format in the calendar.
Structure the 30 days into three phases
Treating every day the same leads to burnout by week two. A three-phase structure builds in rest and variety.
Days 1 to 10: high-energy destination content
Shoot the locations that demand the most energy. Treks, adventure activities, sunrise shoots, and crowded markets. Your physical stamina and creative enthusiasm are highest in the first ten days.
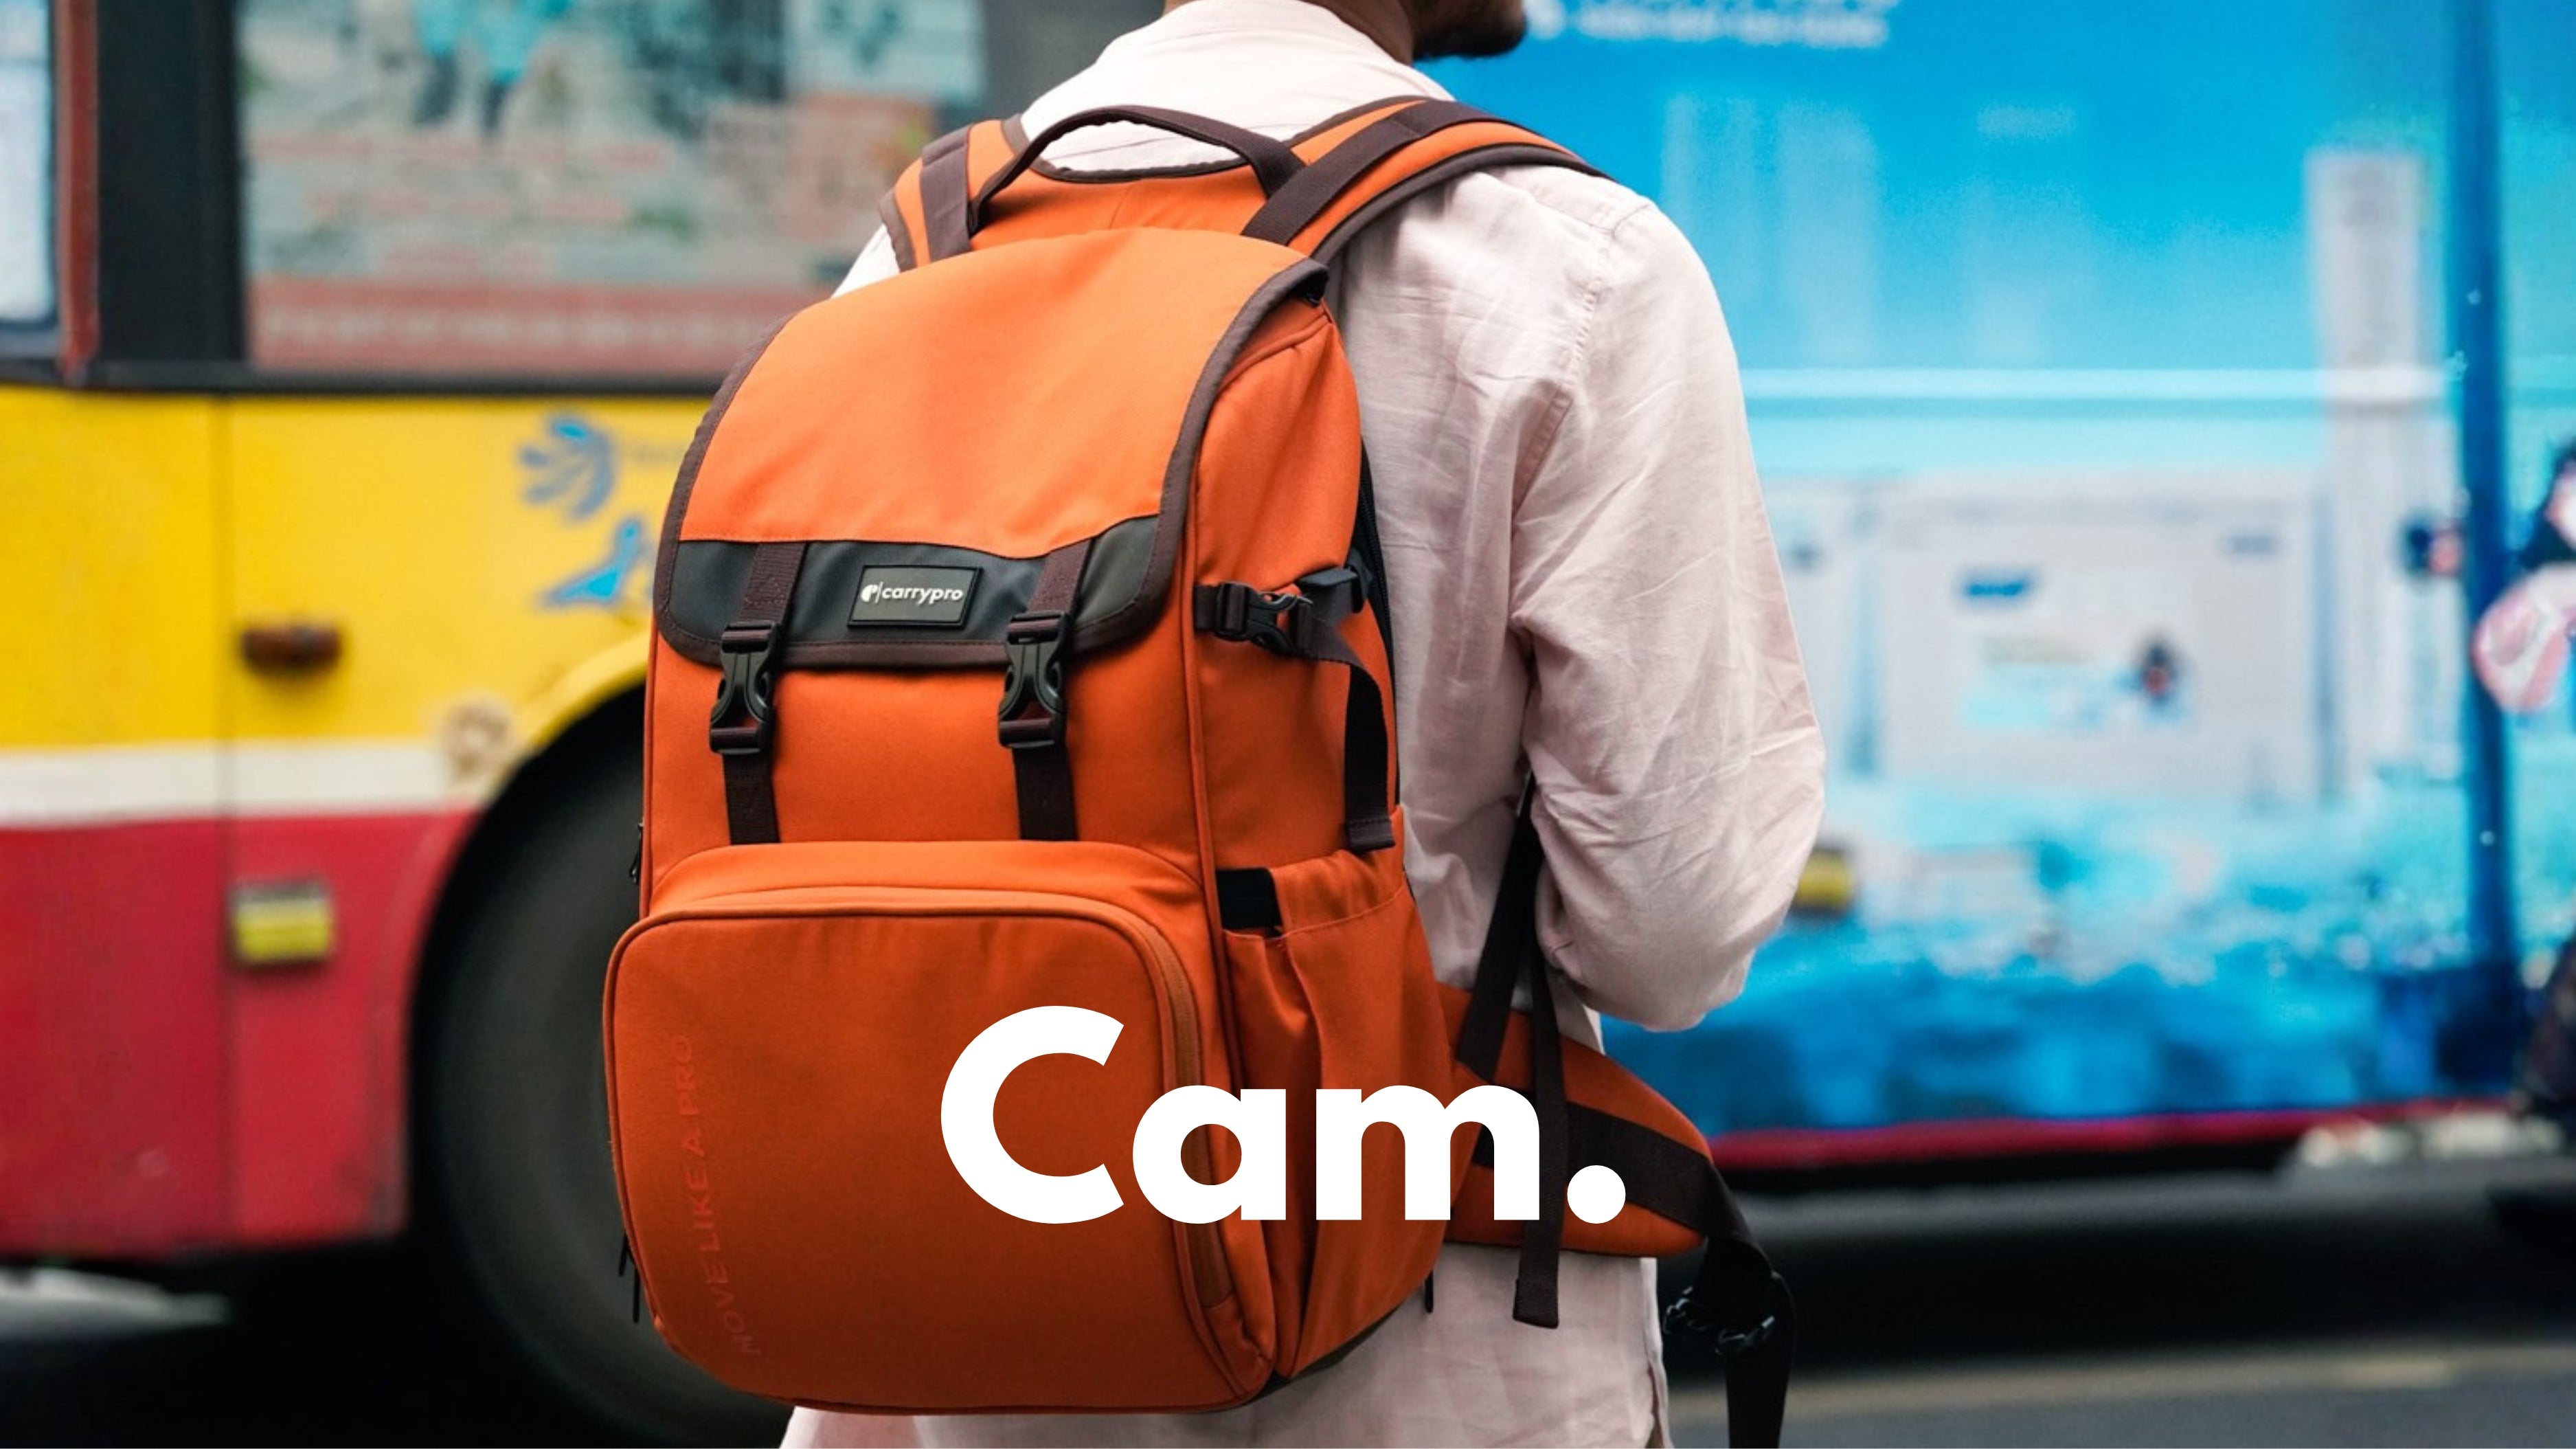
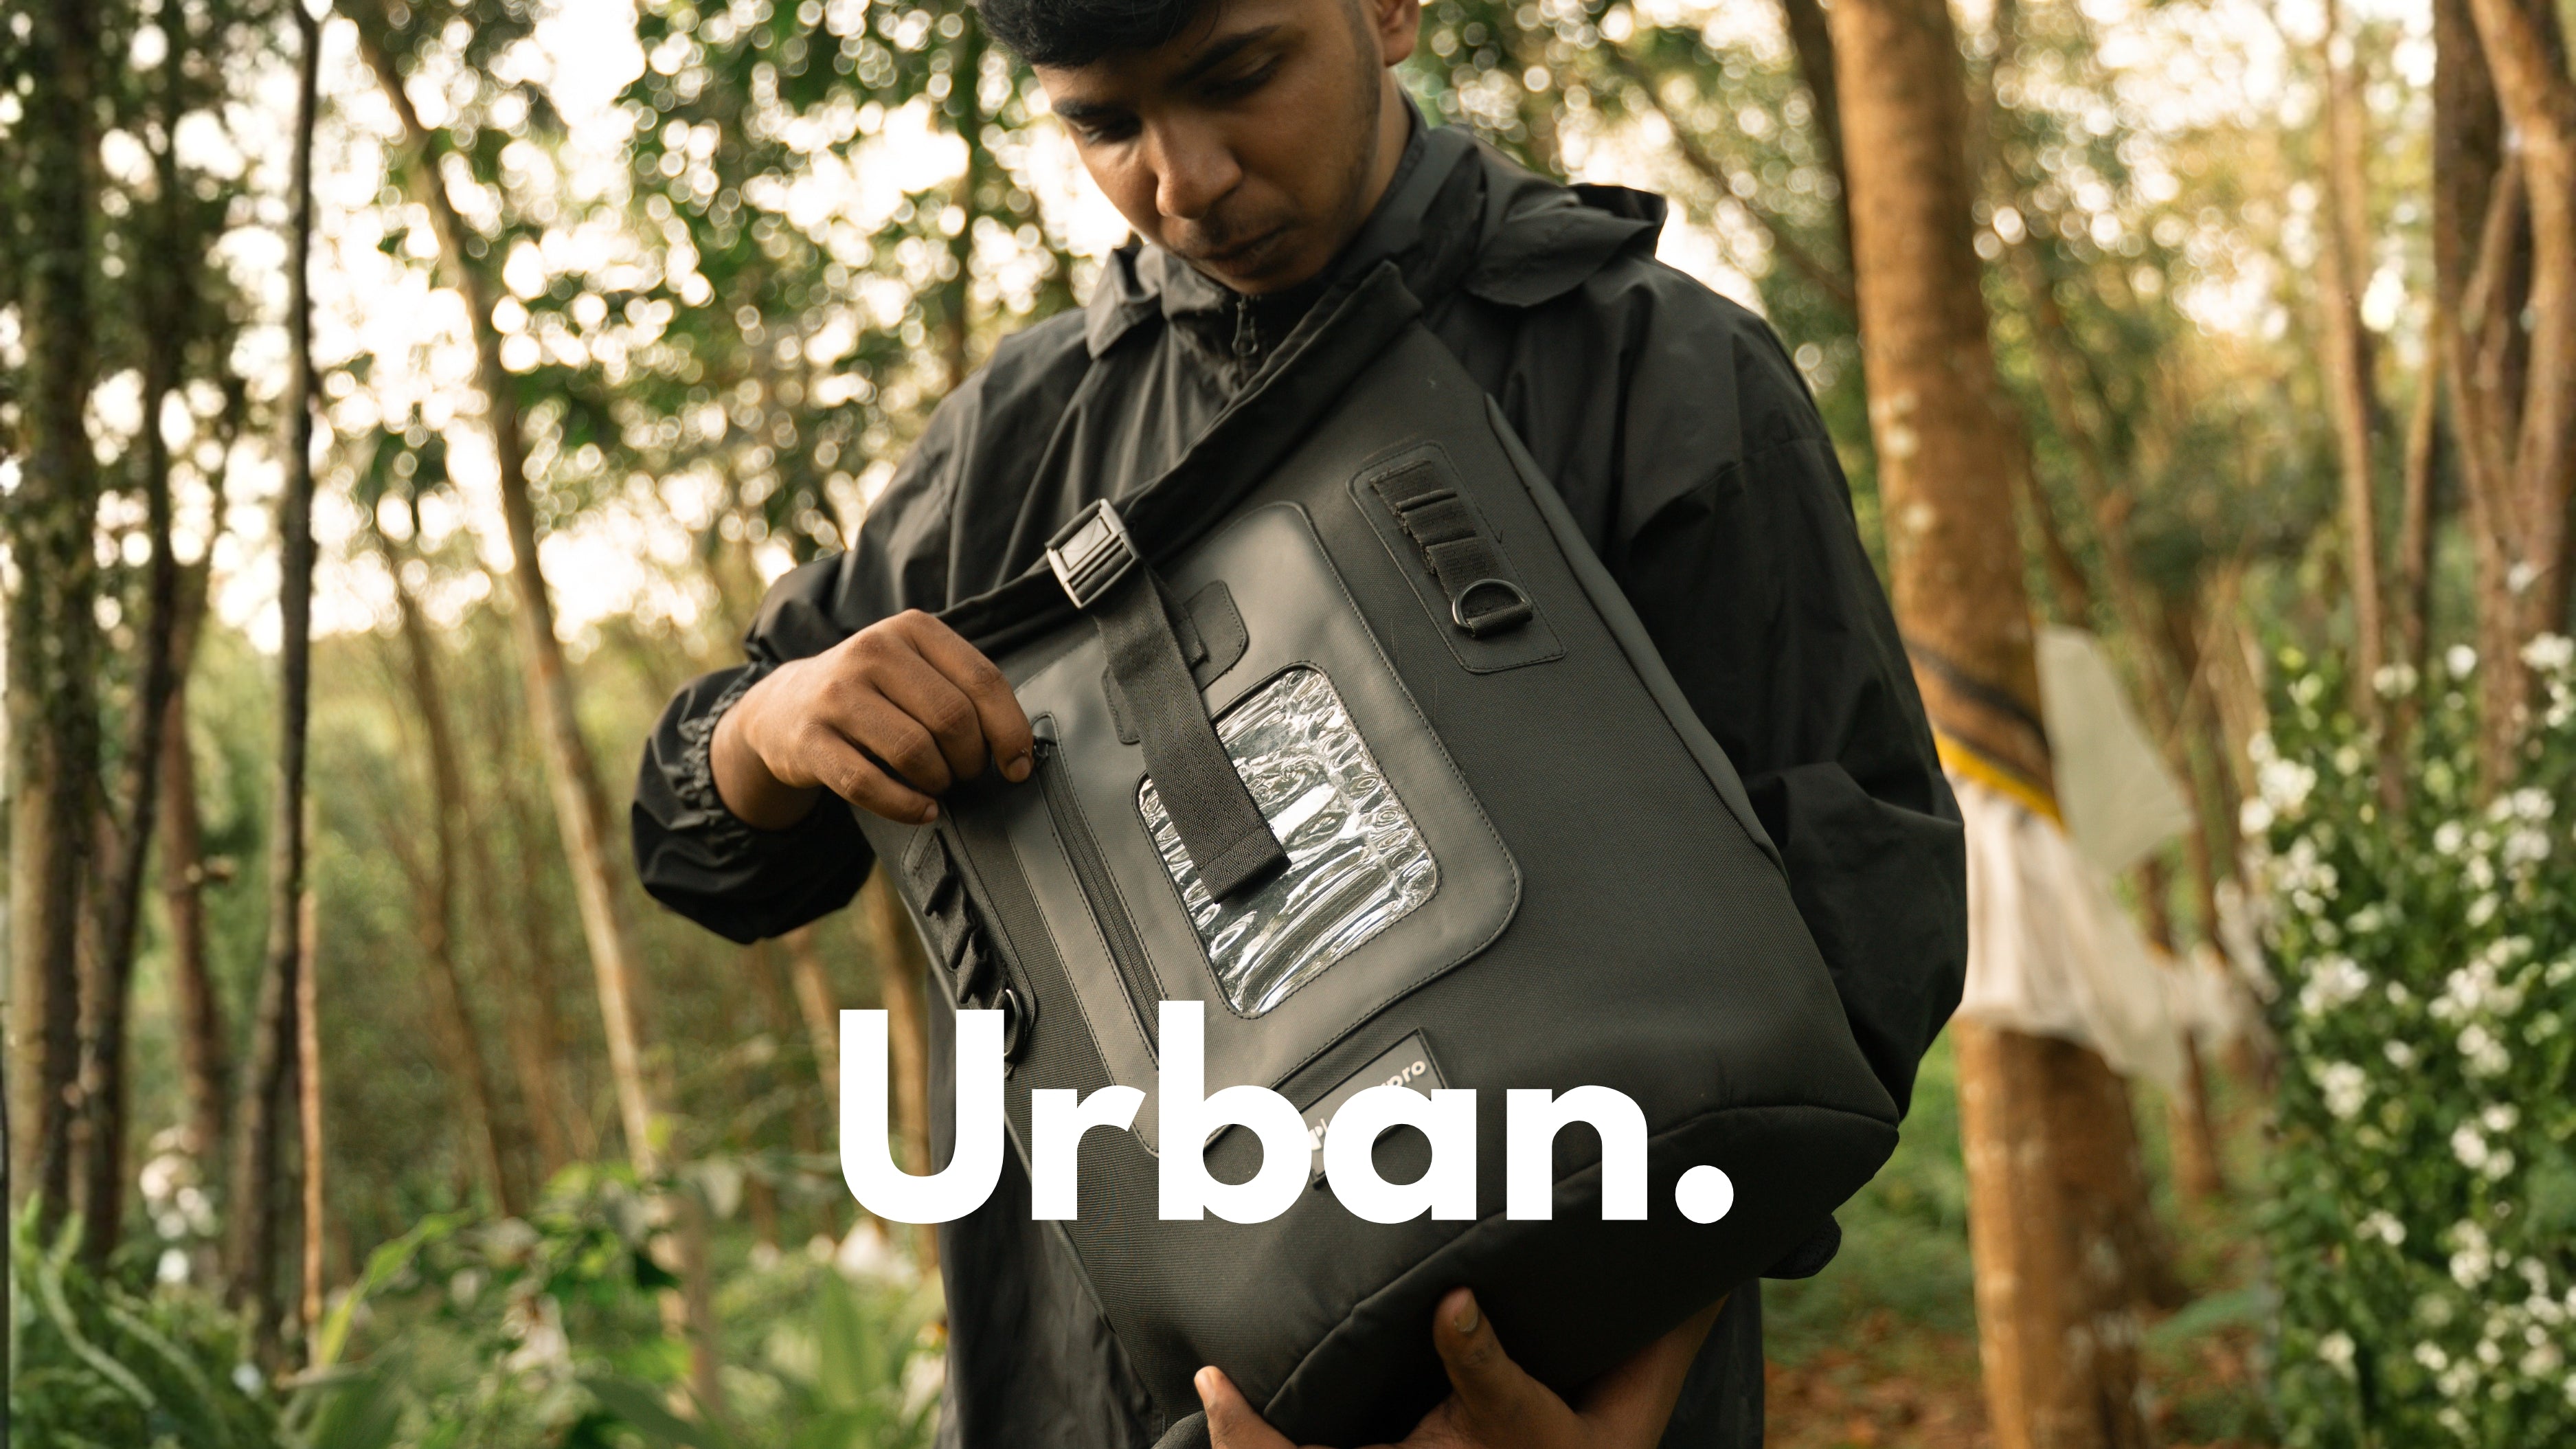
Carry the full kit during this phase. A camera backpack like the Pango V2.0 holds a mirrorless camera, lenses, mic, and laptop alongside a change of clothes for overnight movements.
Days 11 to 20: cultural and slower content
Shift to interviews, food content, cultural experiences, and talking-head commentary. These formats require less movement and less gear. A sling bag with a phone and a wireless mic covers most shooting needs.
This phase also produces the evergreen explainer content that performs well for months after posting. Tips, reflections, and how-to segments filmed in cafe corners or on quiet hostel rooftops. A tech organiser pouch keeps the minimal recording kit (phone, mic, earbuds) accessible for these spontaneous sessions.
Days 21 to 30: pickup shots and audio
The final phase fills gaps in the content calendar. Review the shot list and identify missing footage. Capture transition shots, additional B-roll, and re-record any narration segments where audio was poor.
This is also when you shoot the recap and summary content that performs well as series finales. The reflection video, the packing reel, the cost breakdown, and the mistakes-I-made post.
Shoot with post-production in mind
Every clip you capture should serve at least two formats. Shooting with repurposing in mind doubles the output without doubling the shooting time.
Shoot vertical and horizontal
Capture key moments in both orientations. The horizontal version becomes YouTube content. The vertical version becomes a Reel or Short. Switching takes three seconds and doubles the format options for every moment.
Record standalone audio
Ambient sounds, narration, and voice-over segments recorded separately from video become podcast material, carousel voiceovers, and audio layers for edited videos. A wireless mic recording to a phone in your pocket captures clean audio while you walk, eat, or ride a train.
Save everything to at least two devices
A portable SSD in the tech pouch and an SD card in the camera give you two copies of every file. Back up daily. The process takes 15 minutes and protects every clip from the day against device failure.
The post-trip production pipeline
The trip ends. The real work begins. A six-month content pipeline needs structure.
Week 1 home: organise and tag
Import all footage to a single drive. Tag every clip with location, format suitability (Reel, YouTube, carousel, audio), and quality rating (hero shot, usable, backup only). This tagging session takes one to two days and saves dozens of hours over the next six months.
Weeks 2 to 4: produce the tentpole pieces
Edit and publish the long-form YouTube videos first. These are the highest-effort pieces that anchor each month's content. Two videos per month means four in the first month home.
Ongoing: batch short-form weekly
Dedicate one day per week to producing the next week's Reels, carousels, and captions from the tagged footage library. Each batch session takes three to four hours and produces five to seven pieces.
This rhythm keeps the content flowing without daily editing pressure. The tagged library means you never open a folder and wonder what to post next.
Carry only what the system needs
Every piece of gear in the bag should map to a format in the content calendar. If it does not, it is dead weight.
A HOBO40 V2.0 handles the travel side: clothing, toiletries, and documents for 30 days with packing cubes and a laundry rotation. A Pango V2.0 handles the production side: camera, lenses, laptop, mic, and backup drives.
Two bags. One system. Thirty days of shooting. Six months of posting.
For the full breakdown of how to organise tech gear inside a travel bag, the digital nomad backpack setup covers every compartment.
The trip is the beginning, not the end
A month of solo travel is a content investment. The footage captured in 30 days funds six months of posting, builds a library of reusable assets, and creates the consistency that algorithms and audiences both reward.
Plan the calendar before you leave. Shoot with repurposing in mind. Organise the footage the week you return. Then let the library do the work.
Frequently asked questions
How many shooting days should I plan in a 30-day trip?
Aim for 20 to 25 shooting days and 5 to 10 rest or travel days. Shooting every single day leads to creative burnout and lower-quality footage. Rest days also give you time to review and back up footage.
Can I produce six months of content from a phone-only setup?
Yes, for short-form platforms like Instagram Reels and YouTube Shorts. Long-form YouTube benefits from a mirrorless camera for higher production value. A dual setup using a phone for quick clips and a camera for hero content is the most efficient approach.
How much storage do I need for 30 days of shooting?
Plan for 500 GB to 1 TB depending on resolution and format. A 4K shooter producing 30 to 60 minutes of raw footage daily will fill 500 GB in 20 days. Carry at least a 1 TB portable SSD and three to four SD cards.
What is the biggest mistake solo creators make on long trips?
Shooting without a format plan. Random footage feels overwhelming in the edit because it does not map to any specific content type. A daily shot list that targets five specific capture types solves this.
How do I stay motivated to post content months after the trip?
The tagged footage library removes the creative decision from the daily workflow. You are not deciding what to post. You are pulling the next tagged clip from the queue and assembling it. Systems sustain motivation better than inspiration does.
Should I edit during the trip or after?
Edit quick-turnaround pieces (Reels, Stories) during the trip to maintain posting momentum. Save long-form edits for after you return home. Trying to edit a full YouTube video in a hostel after a 12-hour shooting day is the fastest route to burnout.