
The reel that stops your scroll was probably shot by one person with one camera and no crew. No lighting assistant. No drone operator. No second angle. Just a creator who knew which shots to capture, how to film themselves without help, and how to carry the gear without it ruining the trip.
Cinematic travel reels do not require expensive equipment. They require a repeatable system: the right camera, a handful of reliable shot types, and a carry method that keeps the kit accessible without turning the bag into a production truck.
Our guide covers the solo creator workflow from camera choice through post, with a focus on keeping the entire rig light enough to carry all day across Indian cities, trails, and transit.
Choosing the one camera you will actually carry
The best camera for cinematic travel reels is not the one with the biggest sensor. It is the one that stays on your body every hour of every day without becoming a burden.
Three tiers of one-camera setups
The phone tier is the lowest barrier. A recent iPhone or flagship Android shoots 4K with optical stabilisation. Pair it with a clip-on lavalier mic and a small tripod. This setup weighs under 400 grams.
The pocket gimbal tier sits in the middle. A DJI Osmo Pocket 3 fits in a jeans pocket, has a built-in 3-axis gimbal, and offers face-tracking autofocus. It weighs 179 grams. The trade-off is a smaller sensor and limited depth-of-field control.
The mirrorless tier gives the most cinematic control. A Sony a6700, Canon R50, or Fujifilm X-S20 with a compact zoom lens delivers shallow depth of field and strong low-light performance. The trade-off is weight — 700 to 900 grams for a body plus lens — and the need for a camera backpack during transit.
Pick based on how you travel, not how you shoot
If your trips involve trekking, buses, and hostels where gear security is uncertain, the pocket gimbal wins on convenience and discretion. If your trips are slower-paced with hotels and cafes, a mirrorless camera delivers footage that separates your reels from phone-shot content.
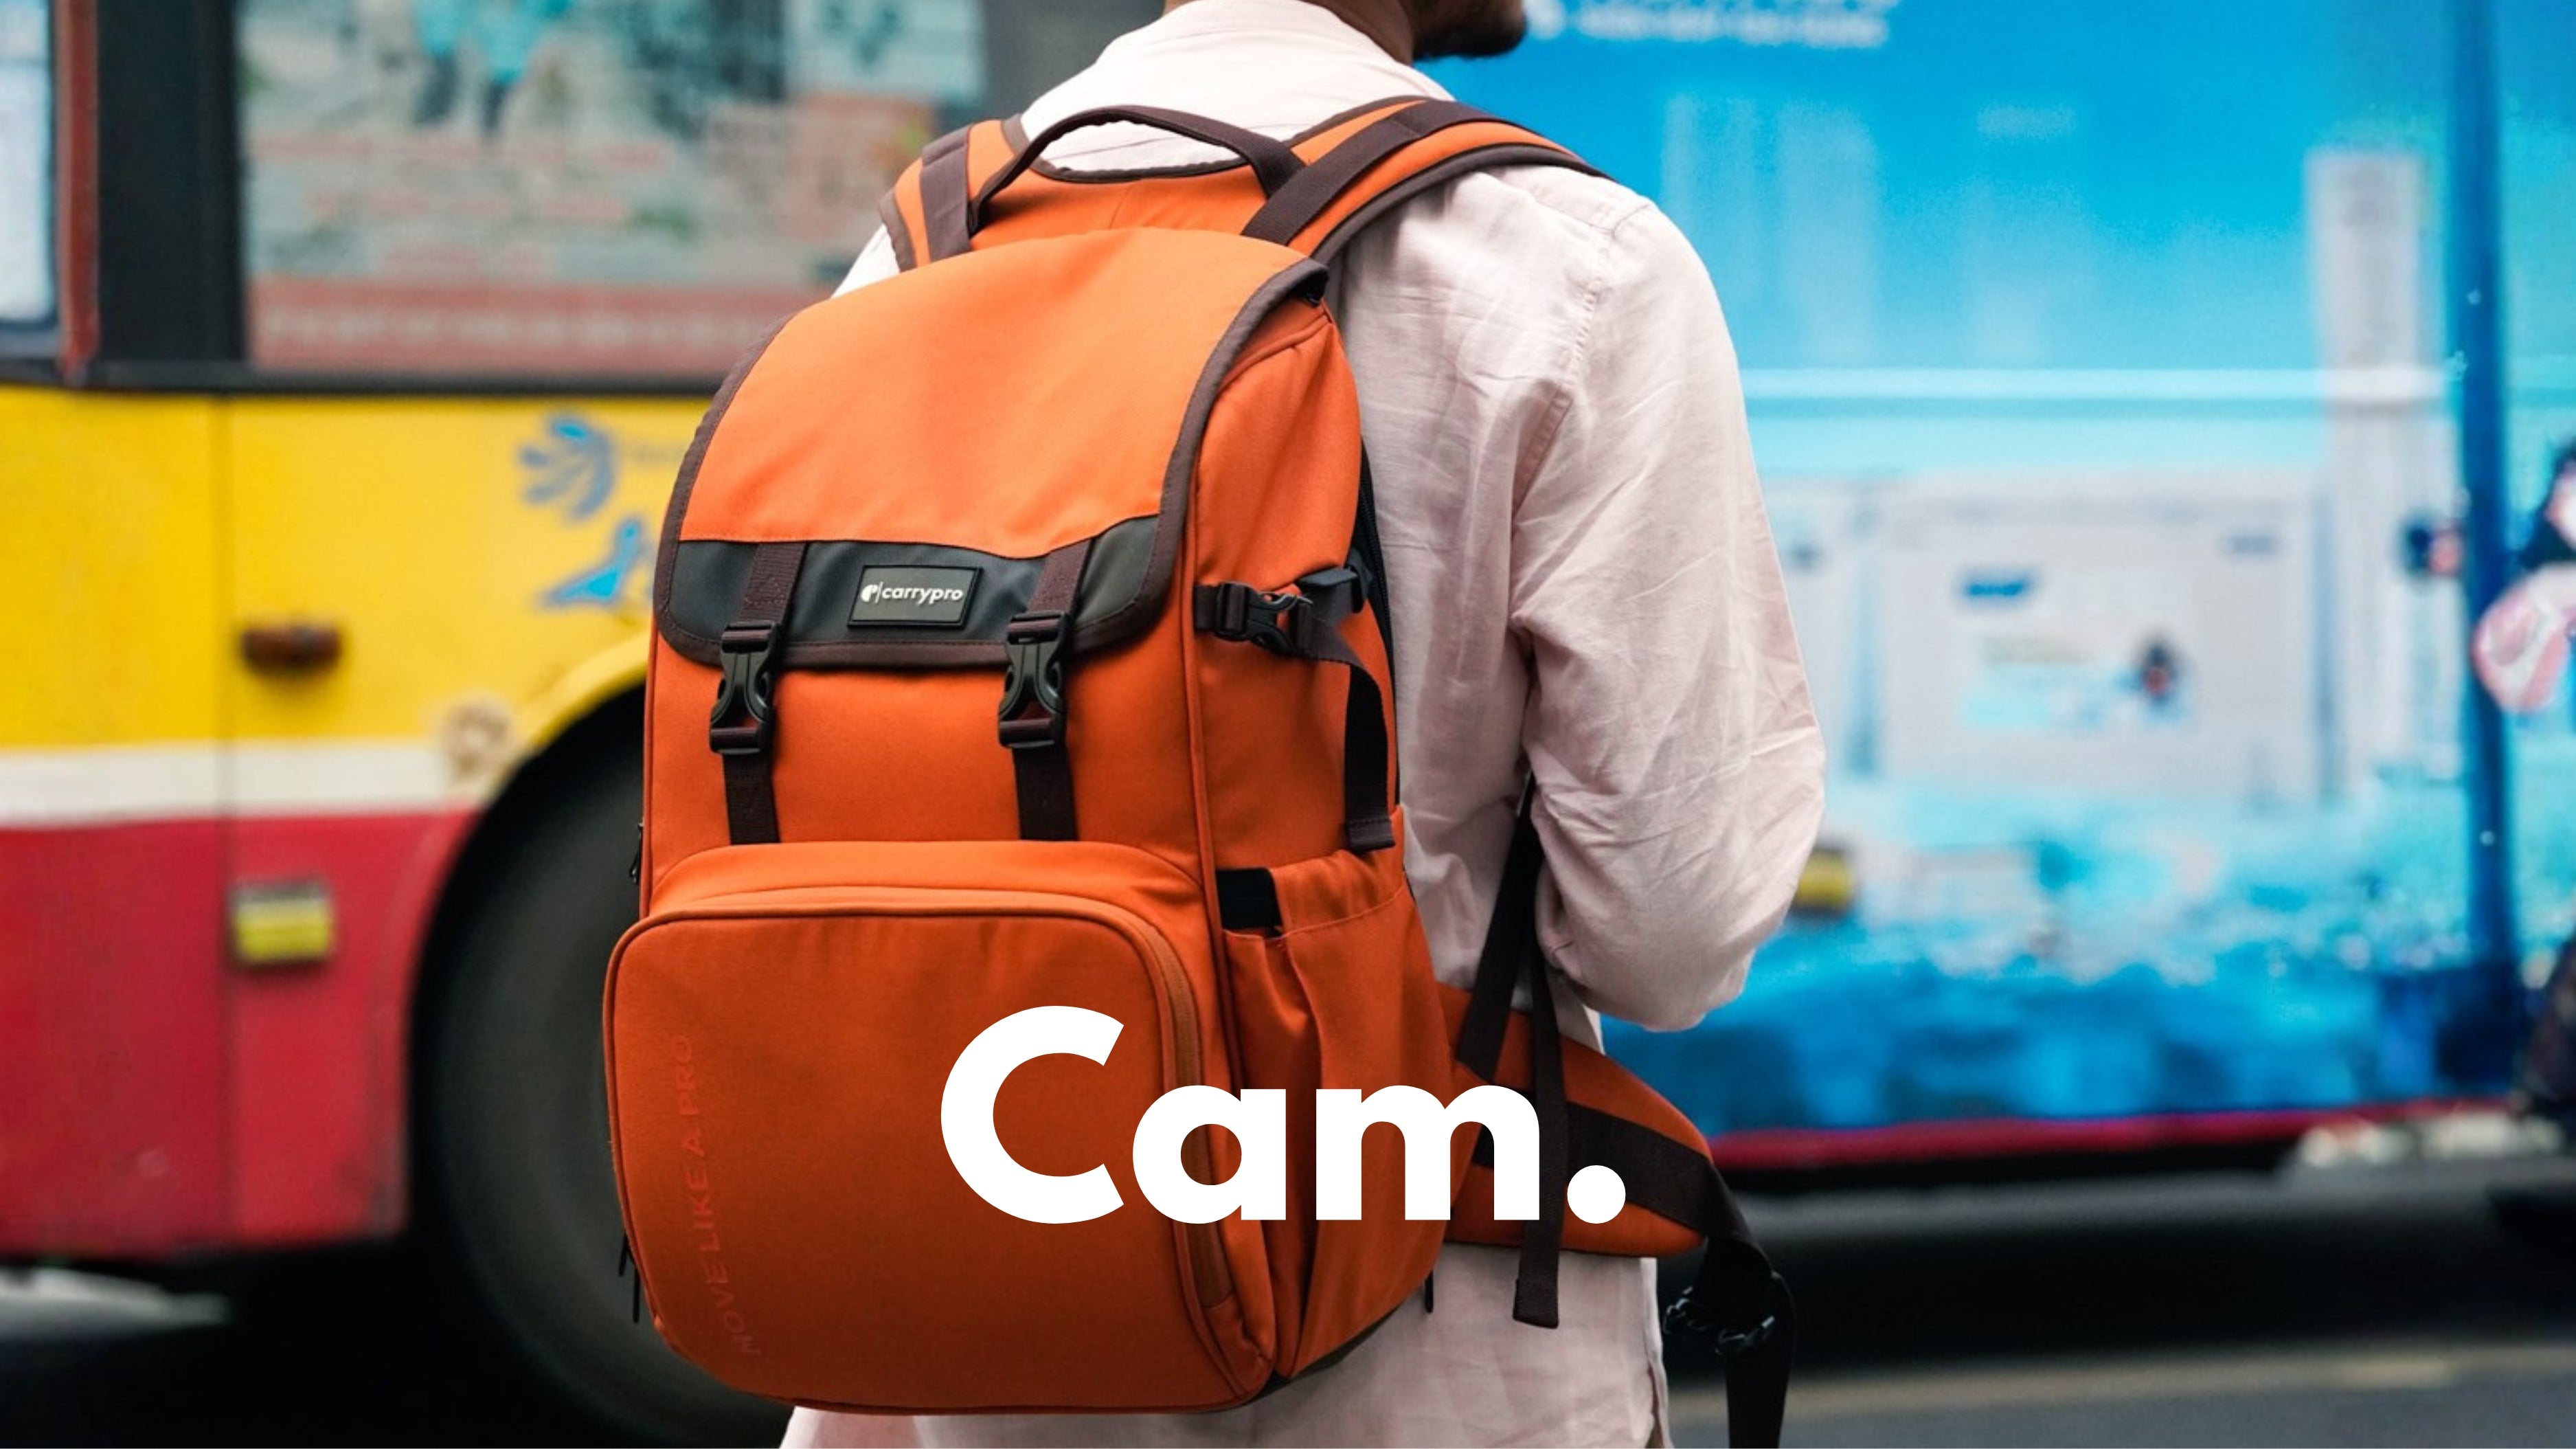
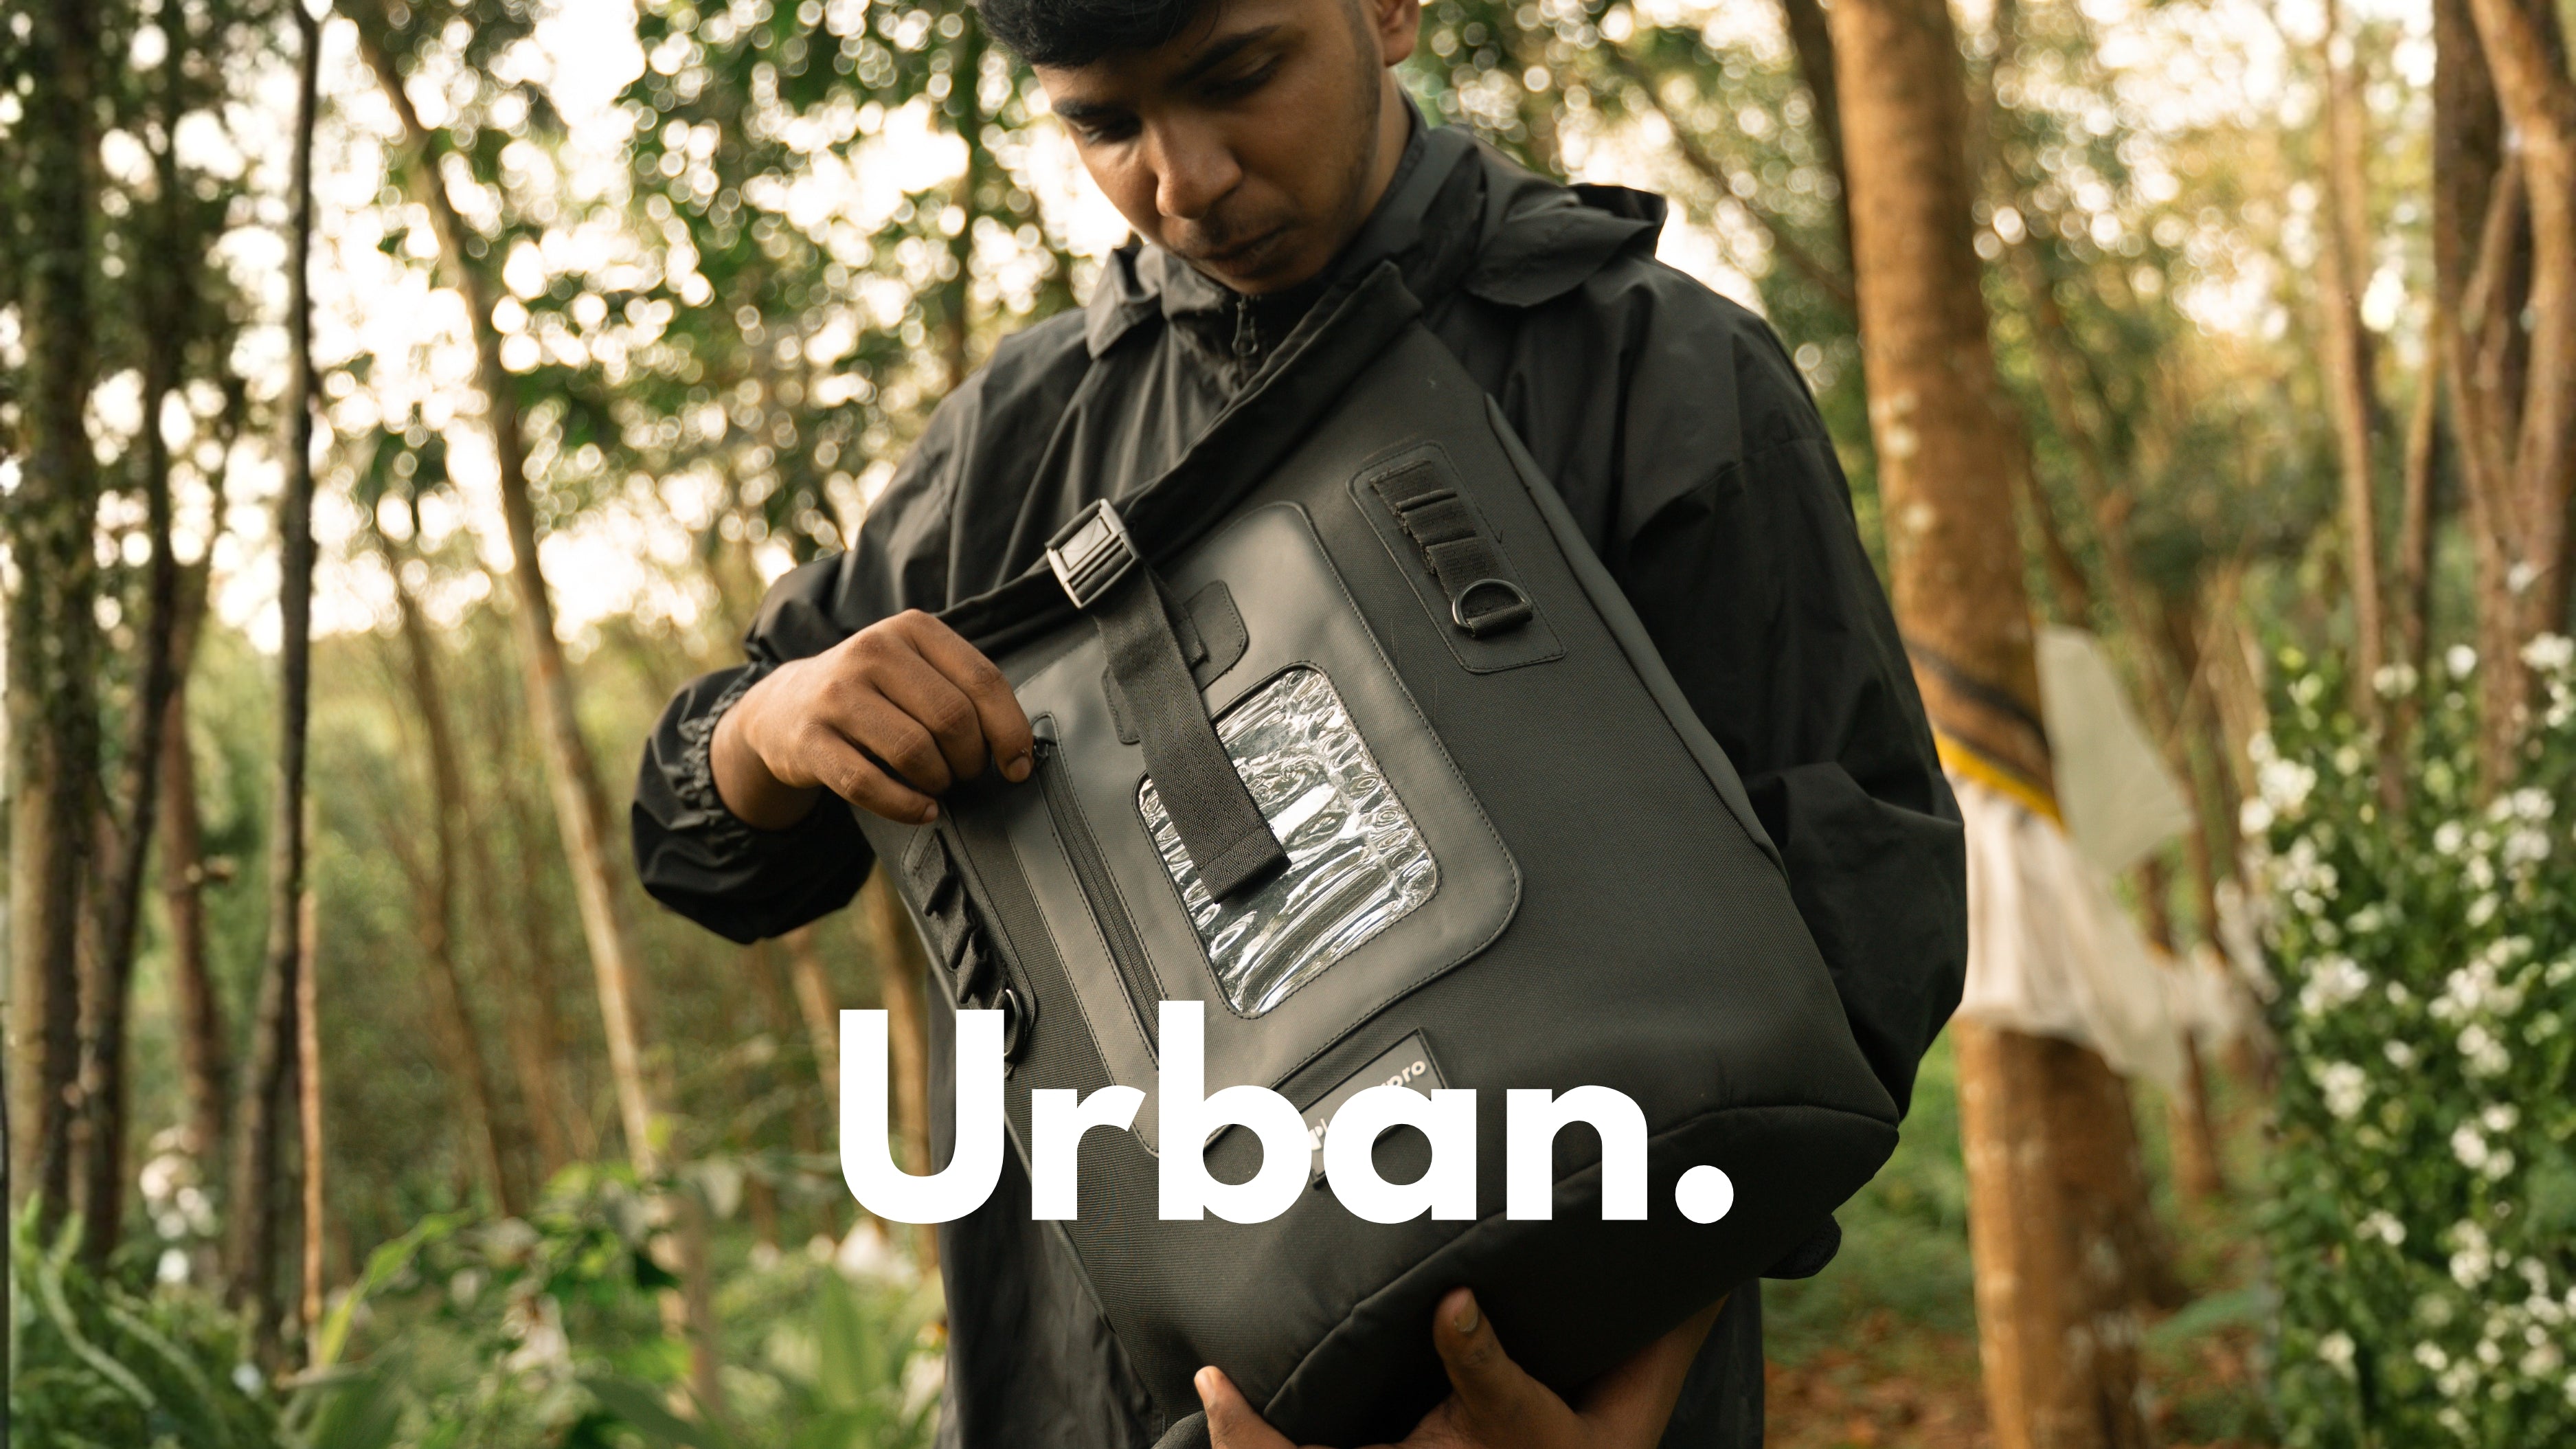
A sling bag carries a pocket gimbal, phone, and accessories comfortably for all-day city shoots. A Pango V2.0 carries a mirrorless body, one or two lenses, a laptop, and still has room for a change of clothes.
Five shot types that make a reel look cinematic
Cinematic quality comes from intentional shot composition, not resolution. Five shot types, repeated consistently across a trip, give any reel a polished structure.
The establishing wide
A static wide shot of the location held for three to four seconds. No movement. No zoom. Just the place, framed deliberately. Shoot from elevated positions, balcony edges, or bridge views whenever possible.
The slow walk-through
A steady walking shot through a market, a ghat, or a trail. Keep the camera at chest height and walk at half your normal pace. Gimbal stabilisation or in-body stabilisation makes this shot effortless.
The detail close-up
Hands pouring chai. Steam rising from a thali. Texture on a temple wall. A page turning in a journal. Close-ups add texture between wide shots and prevent the reel from feeling like a slideshow of landscapes.
The self-portrait in motion
Walking toward the camera from a distance, looking away, interacting with the surroundings naturally. Set the camera on a tripod or a ledge, enable face-tracking autofocus, and walk into the frame. Retrieve the camera on your way past. This is the shot that makes solo reels feel like they were shot by a crew.
The transition moment
A hand covering the lens, a quick pan to a surface, or a swipe that cuts to the next scene. These in-camera transitions reduce editing time and give the reel a rhythmic flow that keeps viewers watching past the first three seconds.
The carry setup that keeps the kit ready
The difference between a creator who captures a moment and one who misses it is usually access time. If the camera is buried inside a backpack, the moment passes while you dig for it.
The sling-and-backpack system
Carry the camera in a sling bag across your chest. Lenses, batteries, and memory cards stay in the camera backpack on your back. The sling gives you a three-second draw time from bag to shooting position. The backpack holds the support gear and stays closed until you swap lenses or batteries.
This two-bag system keeps total carry weight under 5 kg for a mirrorless setup and under 2 kg for a pocket gimbal setup.
What goes in each bag
The sling carries the camera body (or pocket gimbal), a spare battery, one memory card, and a lens cloth. The backpack carries a second lens, a charger, a compact tripod, a laptop for evening edits, and a rain cover. Packing cubes inside the main compartment separate camera gear from clothing if the Pango doubles as a travel bag.
For the full breakdown on carrying a laptop, camera, and travel gear in one bag, the travel backpack guide covers every size and configuration.
Editing on the road without burning out
The fastest way to kill a travel content schedule is to shoot all day and edit all night. Separate shooting days from editing windows.
Batch your edits
Shoot for two or three days. Edit on the fourth. Use train rides, airport waits, and hostel evenings as natural editing windows. This rhythm matches the movement cycle of a typical Indian backpacking itinerary.
Keep reels under 60 seconds
A 30 to 45 second reel takes 20 to 30 minutes to edit from raw clips. A three-minute cinematic film takes four hours. For consistent output while travelling, short reels win. They publish faster and perform better in Instagram and YouTube Shorts algorithms.
CapCut, InShot, and VN Video Editor handle cuts, colour grading, and text overlays directly on the phone. Export at 1080p for Reels and Shorts. Save the 4K master on an SD card for a polished long-form edit later.
Cinematic reels start with what you carry
The gear matters less than having a system. One camera, five shot types, a bag that keeps the camera accessible, and an editing rhythm that does not consume the trip. That is the full workflow.
Solo creators who produce consistent, cinematic travel reels are not more talented than those who struggle. They simply carry less, shoot with intention, and edit in windows instead of marathons.
Frequently asked questions
What is the best camera for solo travel reels in India?
For most solo creators, a pocket gimbal like the DJI Osmo Pocket 3 offers the best balance of portability and quality. For higher cinematic control, a compact mirrorless camera like the Sony a6700 or Canon R50 paired with a single zoom lens delivers shallow depth of field and better low-light results.
How do I film myself travelling alone?
Set the camera on a tripod or ledge, enable face-tracking autofocus, and walk into the frame. For walking shots, hold the camera at chest height facing forward or use a selfie grip with a compact gimbal. Movement looks more natural than posing.
How many shots do I need for a 30-second travel reel?
Eight to twelve clips of three to four seconds each. Mix establishing wides, detail close-ups, a self-portrait shot, and a transition. Variety in shot type keeps the reel visually dynamic even with a single camera.
Can I shoot cinematic reels on a phone?
Yes. Modern phones shoot 4K with optical stabilisation. The cinematic quality comes from composition, movement speed, and colour grading in the edit, not from the sensor size. A phone paired with a lavalier mic and a small tripod produces reels that compete with dedicated camera footage.
How do I protect my camera while backpacking in India?
Use a padded camera backpack with a rain cover. The Pango V2.0 has a dedicated camera compartment with adjustable dividers that prevent the body and lens from shifting during bus rides and train journeys. Keep a silica gel packet inside the bag in humid conditions.
How often should I post travel reels while on a trip?
Three to four reels per week is sustainable for a solo creator on the road. Batch-shoot over two to three days and edit on travel or rest days. Posting daily leads to burnout within the first week for most creators.